A new wetsuit can cost anywhere from $50 to $500. So if you notice a small tear in your wetsuit, don’t just toss it in the bin and shop for a new one.
With some basic DIY skills, you can have that tear repaired before your next beachside camping trip.
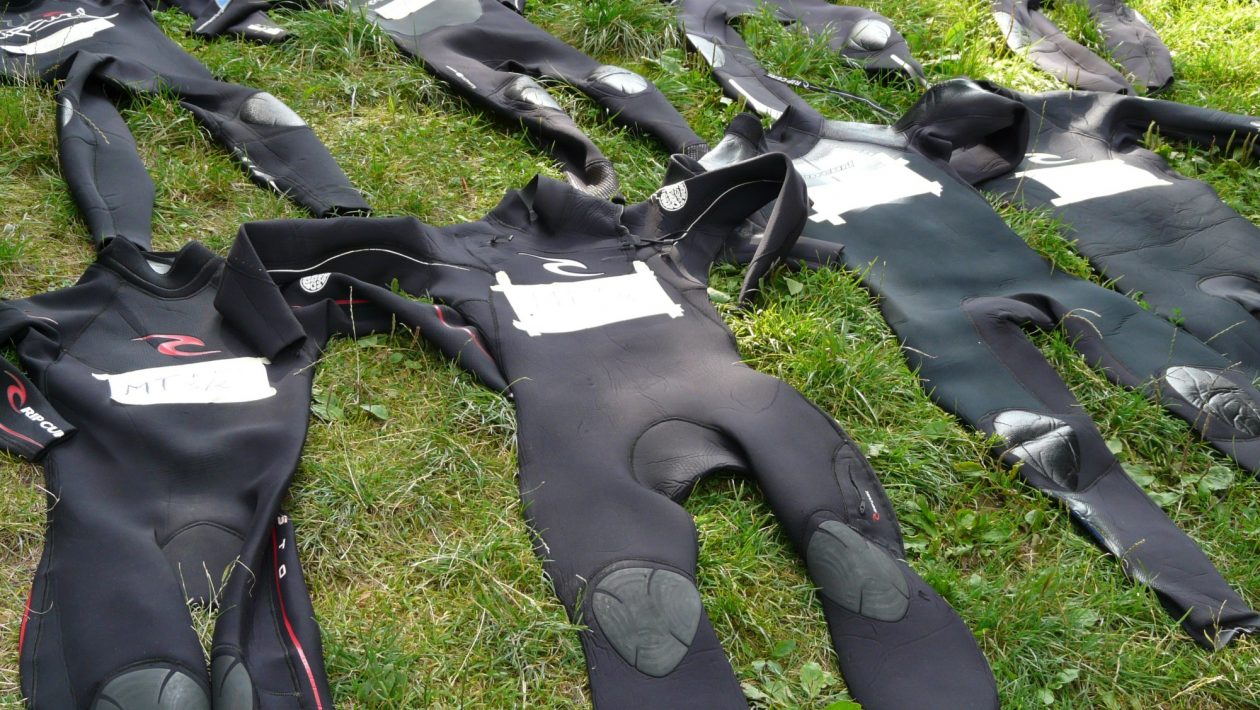
Not sure how to get started? We’ve put together this quick guide to walk you through the wetsuit repair process.
So let’s dive in!
Cleaning Your Damaged Wetsuit
Before you can start repairing any type of damage, you need to make sure your wetsuit is clean and dry. Otherwise, the adhesive you use might not stick to the wetsuit as well.
But cleaning your wetsuit involves more than a rinse. Not sure where to start? Here’s what you need to know.
1. Fill the Bathtub with Cool Water and Wetsuit Cleaner
The first step of washing your wetsuit is filling your bathtub with cool water. Do not use hot water.
Neoprene loses some of its flexibility in hot water, which can lead to more damage over time.
When you get the water to the right temperature, add your wetsuit cleaner and give the water a quick mix.
2. Prepare Your Wetsuit
To make sure your wetsuit gets thoroughly cleaned, unzip any zippers and turn it inside out.
The wetsuit cleaner will help remove things like chlorine, salt, and other organic residues.
3. “Scrub” Your Wetsuit
Submerge your wetsuit in the bathtub and spend a few minutes kneading it. This will allow the wetsuit cleaner to get into the suit and remove any debris and salt.
When you’re done, let the wetsuit sit in the water for several more minutes.
4. Rinse Your Wetsuit with Cool Water
Drain all the wetsuit cleaner/water from the tub and rinse out your wetsuit with clean, cool water.
Again, don’t use warm water as this can lead to more damages.
5. Hang Your Wetsuit up to Dry
Leave your wetsuit inside out when you hang it up to dry. Make sure it’s hanging in a protected area away from the sunlight.
The heat and UV rays from the sun will cause the neoprene to break down. Leaving your wetsuit in the sun for too long can make it wear out quickly. When this happens, you’ll have to buy a new one because repairing it won’t be enough.
Once the inside is mostly dry, turn the wetsuit back right-side out to finish the drying process.
How to Repair Tears in the Rubber
Two different parts of your wetsuit that can tear: the rubber and the neoprene. But the repair process for both types of damage is similar.
Here’s what you’ll need for a wetsuit with a tear in the rubber:
- Wetsuit cement
- Dental floss (or thread)
- Needle
Here’s how the process works.
Coat both seams of the tear with the wetsuit cement. Let the adhesive cure for a few minutes then press both sides of the seam together.
Thread the floss through your needle and sew over the torn seams. Once you’re finished, apply another coat of wetsuit cement directly over the floss stitches. This will help strengthen the repair.
Wait another 10 minutes then add another coat of wetsuit cement. Let the cement dry for eight hours or overnight before wearing.
How to Repair Tears in the Neoprene
You have to be a bit more careful when you’re repairing tears in the neoprene.
Why?
Neoprene is a somewhat fragile material (you can learn more here). Sewing neoprene can poke small holes in the materials, which can cause tiny leaks to form. However, if you’re careful, you won’t have to worry about small holes or leaks.
There are two different methods to repair torn neoprene.
Here’s a closer look below.
Small Tears
For small tears, you can get by without sewing the material. Because of this, the only thing you’ll need for this type of repair is some wetsuit cement.
Apply a thin coat of wetsuit cement on both sides of the torn seam. Let the cement cure for a few moments, then push both seams together.
Wait five to 10 minutes then add a second coat. The neoprene will act like a sponge and absorb a lot of the wetsuit cement, so you should repeat the process one more time.
Once you’ve applied three coats, let the wetsuit dry eight hours or overnight.
Large Tears
For a large tear, you’ll need to get the sewing needle and dental floss back out. If you don’t have dental floss, you can use normal thread as well. However, dental floss is stronger, so it will help the repair last longer.
Take your wetsuit cement and apply it on both sides of the tear. After letting the cement cure for a few minutes, pinch the edges back together.
Next, thread your floss through the needle and start sewing. But this time, you’ll want to use a blind stitch. This will keep the needle from going all the way through the neoprene, meaning you won’t have to worry about holes.
Once you’re done sewing, apply another coat of wetsuit cement. If you want to be safe, you can add a second coat as well.
Then let the wetsuit cement dry for at least eight hours.
When to Buy a New Wetsuit
Sometimes, no amount of repairs can save a damaged wetsuit.
If your wetsuit has several large tears or tears that keep needing repair over and over again, it might be time to buy a new wetsuit.
Wetsuit Repair Guide: How to Sew a Wetsuit Tear
A small tear doesn’t mean your wetsuit is at the end of its life. With a bit of dental floss and some wetsuit cement, you can perform some basic wetsuit repair and get back out on the water.
Want to get off your surfboard and under the waves instead?
Check out this guide to learn everything you need to know about scuba diving in the beautiful Waikiki Oahu.