Do you know what’s worse than cleaning your oven? Doing this while inhaling toxic fumes that smell like they could strip paint.
Luckily, you don’t have to go into battle armed with gloves up to your elbows. All you need is bicarb, a lemon, and a little bit of patience.
So, stick with us, and we’ll show you how to send that grime packing without making your eyes water.
What’s Lurking Behind That Door?
Ovens have a sneaky way of collecting more than old splatters. That sticky build-up turns into smoke whenever you crank the heat, filling your kitchen with fumes that sting your eyes and irritate your lungs.
If you let the grease pile up, it can slow down cooking, make your unit chew through more power, and throw your meals off balance. That’s why one side of your lasagne may end up like molten lava while the other sits there stone cold.
On top of that, burnt food scraps can harbour bacteria and double as an all-you-can-eat buffet for bugs—not exactly the secret ingredient you want in your next tart.
There’s a simple fix, though. If you give your oven a proper scrub once a month, you’ll dodge all of that. Better yet, you’ll cook faster and won’t have to second-guess what’s floating around your kitchen.
So, grab a sponge, roll up your sleeves, and let’s keep that oven sparkling.
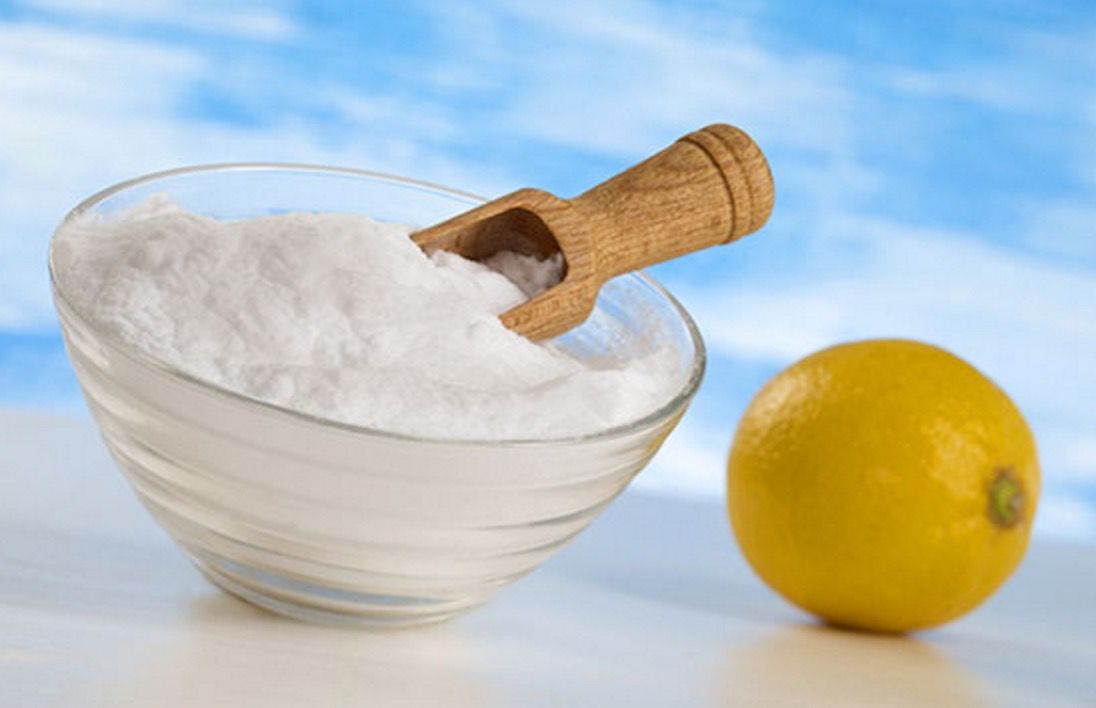
Stock Up on Supplies
Before you dive into cleaning, you should make sure you have everything on hand. Here’s the supplies you’re going to need:
- Sodium bicarbonate powder;
- Lemon;
- Water;
- A bowl;
- A sponge;
- A spray bottle.
Pretty simple, right? Baking soda and lemon juice clean like a dream and are safe for the whole house. So, you don’t have to worry about chemical residues.
Sodium bicarbonate is a gem when it comes to tackling sticky grime. Its slight grittiness will help you remove tough stains without scratching your oven’s finish. It also zaps bad smells, keeping your kitchen as fresh as a daisy.
As for lemon juice, it’s an absolute star at slicing through grease. Its zesty acidity breaks down muck, no harmful chemicals needed, and the bright, citrusy scent is an added bonus. Think of it as a two-in-one: a grease-buster and an air freshener.
Make Your Cleaning Paste
Now for the fun part: whipping up your own DIY cleaning paste. Start by grabbing half a cup of the powder, toss it into a bowl, then add around four tablespoons of water. Now, mix everything well until you have a thick, smooth paste.
If the mix looks crumbly, add another teaspoon of water and keep stirring until it becomes smooth. If you’ve gone too far and it’s watery, toss in a little more bicarb until it thickens again. You want a paste that spreads easily and clings to your oven walls instead of sliding off.
This solution is cheap and doesn’t come with that chemical cloud that makes you want to run out of your kitchen.
Better yet, you can also use the same mix on other surfaces. If you notice a smudged countertop or dirty sink, apply this blend there, too. It’s gentle on surfaces yet tough on dirt, which makes it a handy solution for different cleaning chores around your home.
So, the next time you come across a stubborn stain, remember that this pantry staple could provide the perfect solution.
Apply the Paste
Once the paste is ready, grab a sponge or cloth and start spreading it over the greasy spots inside your oven.
Just steer clear of the heating elements, because this paste can damage them and cause trouble when you switch your unit back on.
Then, let the paste sit for at least half an hour so the bicarb has time to soften up the grime. The longer it stays, the less scrubbing you’ll have to do later. However, if your oven is looking especially tragic, you can even leave it overnight.
Add a Zesty Kick
Once you’ve applied your paste, it’s time to bring in the lemon spray. Mix one part lemon juice with one part water in your spray bottle and spritz it generously over the coated surfaces.
You’ll notice the paste fizz and foam straight away, lifting carbonised grease, softening burnt food, and making it easier for you to wipe down your unit.
Leave the mixture to sit for at least 30 minutes or an hour if your oven has seen better days. By then, the foam will have done most of the heavy lifting, so you’re not stuck chiselling away burnt cheese off your unit’s floor.
Scrub Away the Grime
After the paste has worked its magic, you need to wipe away the residue. Grab a damp sponge or cloth and start working over the racks and walls, where grime usually digs in for the long haul.
You’ll need a bit of muscle, but don’t go at it like you’re sanding down furniture. Gentle pressure will do the trick without leaving scratches behind.
For those sneaky corners where build-up likes to hide, swap the sponge for a soft-bristled brush. It will help you reach those nooks and crannies without damaging your oven’s finish.
If you hit a stubborn patch that refuses to budge, dab on a bit more of your bicarb-lemon mix and let it sit for a few extra minutes.
And if all this still sounds like more scrubbing than you bargained for, you can always call in oven cleaning services. They have the gear, the know-how, and the patience to make your unit shine like it’s brand new.
Conclusionhttps://fantasticcleaners.com.au/sydney/oven-cleaning/
And there you have it—the mess is gone, your oven is now gleaming, and your kitchen suddenly feels less like a battlefield.
So, make this trick part of your monthly cleaning routine, and you’ll cook delicious dishes without setting off your smoke alarms or having to deal with weird smells. Honestly, it’s the kind of win that deserves a victory cuppa while your oven glitters in the background.