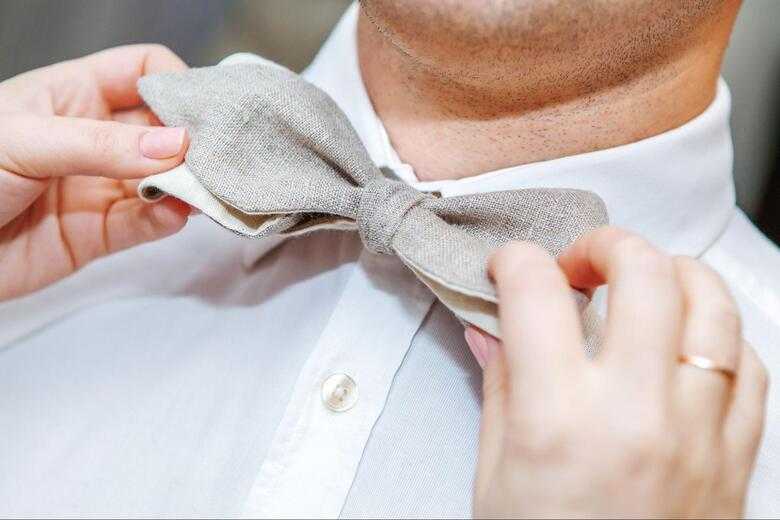
Many of us are not aware on how to exactly tie a bow. But it is not so very difficult to tie a bow. If you want to learn how to tie a bow then this blog is just the one for you. Tying a bow is just another simple task for everyone. You can tie a bow following simple and easy steps. All you need to do is read through the blog and follow the steps as described below -How to Tie the Perfect Bow.
What is a bow?
A bow is nothing but a simple version of a knot tied in a prettier way. Bow is tied by twisting two sides of a strip or a string. The lose end of the string or strip after tying a knot is of equal length.
Many of times, you must have seen that shoes have strings. Those strings are tied in a shape of a bow. Not only a show, even over a gift or a designer parcel, to make it more presentable, we keep a bow over it.

Different Types of tying a Bow
A bow can be tied in different ways. There are endless creative ways to give bow a different look. It is on person to person how different or creative can they think. There is always a better version of something. Likewise, even bows come in different shapes and sizes.
- Basic Bow
- Loop Bow
- Floral Bow
Basic Bow
Making a basic bow is very simple. You can all remember how to tie a knot. We all have learned it long back at a very young age. But just in a little twisting way, you can give that knot a look of a bow.
Here are the steps that you can follow to make a basic bow.
Step 1
Firstly, take a strip or ribbon. Make sure that the ribbon is in equal length from both the sides. Just a tie a simple knot in the beginning.
Step 2
Hold the knot in the middle with your right-hand side finger and make a loop with the left side of the ribbon. Again, make another loop of the right as well. Ensure that both the loops are of equal sizes.
Step 3
Criss-cross the loop on the other side. Put one of the sides of the loop from the middle of the two loops.
Steps 4
After putting it out from the middle, tie the knot very hardly and give it a strong grip. After that the knot is done, just make the ribbon a little fluffed up. And viola your Basic Bow is ready!
Loop Bow
Just like a basic bow, there is not much of a difference in make a loop bows as well. All you need to do is follow these basic steps.
Step 1
Take a long ribbon according to your choice. Depends on you how much bigger a ribbon you want. Make two sides if the ribbon equal from both sides.
Step 2
From one of the corner sides of the ribbon, start folding the ribbon and give it an inverted S shape. You will see that a bunch of folds are now made. Now hold the folds from middle without making the folds slip.
Step 3
Take a string and tie it in the middle of the folds. Now slowly, flap out the folds you have made and give it a shape.
Step 4
Cut down the loose edges by a small shape to make it look prettier. And now, you loop bow is finished.

Floral Bow
This floral bow makes the gift look like it is covered by a pretty flower. It gives a prettier look and you will not believe but it is very east to make it as well.
Follow the steps carefully and you can make a floral bow as well.
Step 1
You require two ribbons of different sizes. One longer in length and other one smaller in size just to tie a simple knot. Take the longer ribbon and start making it as a loop from your index finger to the middle finger.
Step 3
Keep on doing until the ribbon finishes. Give it an equal flap look. Now, fold the flap into equal half. Cut the two corner edges
Step 4
Now hold the flap from middle again. Use the small ribbon that you kept aside to tie a knot in middle of that ribbon.
Step 5
Once tied, flap out the loops in different shapes and directions. The direction you move each flap should be opposite and equal. Ensure that the flaps are all spread out and you have then finally learned on making a floral bow.

Conclusive Insights
With this, we have come to the end of our blog – How to tie the perfect bow! Hopefully, you have successfully learned on how to tie a perfect bow. Just following these simple and easy steps, anyone can tie a bow. You can also go ahead and teach your other friends and kids in the family as well. Now making a bow for a gift wrap is easier perhaps.
These above given different bows were just few. There are many other different styles on tying a perfect bow as well. Now what you can do is start and give a try on making your own kind of bow. Also, if you liked the blog, share it with your close ones as well!


