Isn’t it amazing how craftwork can open our thought processes and give wings to our imagination? How about something fun and innovative that will also preserve your cherished possessions? We are talking about shadow boxes. A shadow box can lend aesthetic appeal to your plain or designed walls and rooms. And that’s not all. A shadow box can help you start interesting conversations, rather than boring things like the weather. Here is a complete guide on how to make a shadow box.
What Is a Shadow Box
Before we learn how to make a shadow box, let us first understand what it is, precisely. When you look up your favorite search engine, you might get different pictures of shadow boxes. This is because every crafter uses imagination to create something quirky, something new. So, none of them are wrong per se.
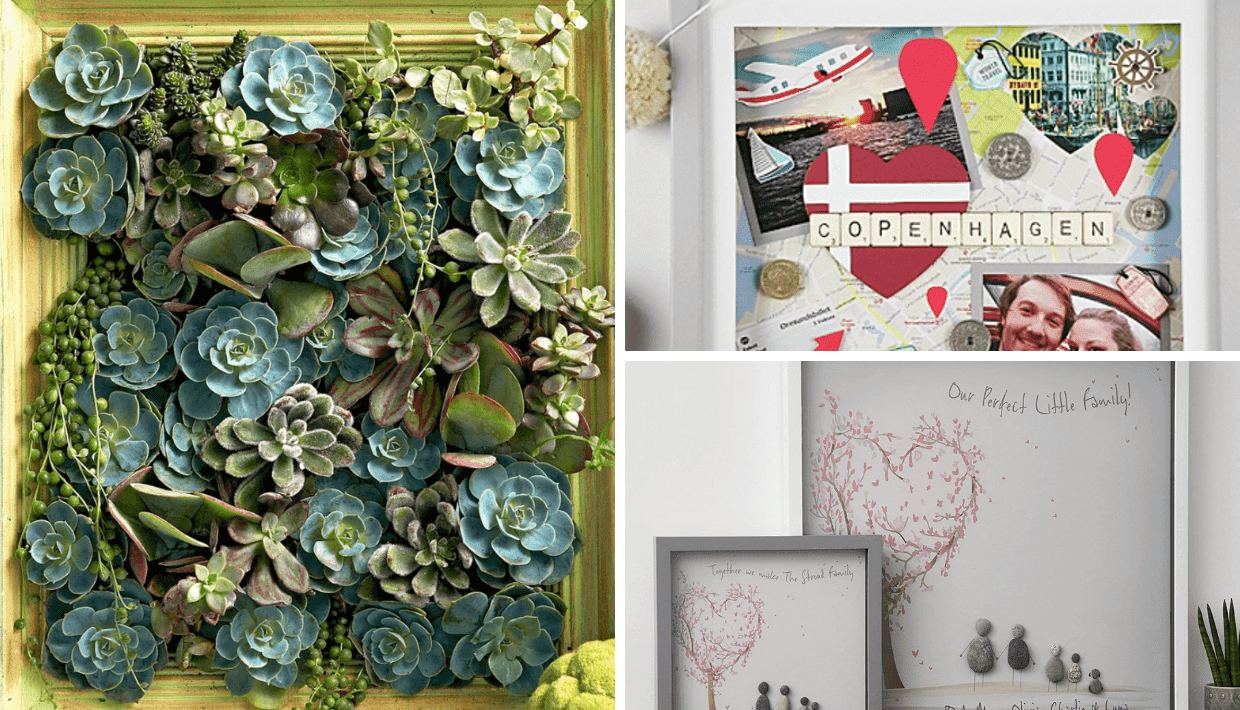
Then, what exactly is a shadow box? To answer that in two words – it is a ‘display case’. As the name suggests, it is a box. It is perfect to showcase three-dimensional objects or pictures. A shadow box is also called a showcase, vitrine, or display cabinet. You can see shadow boxes in shops and stores. They use them to showcase their products. But who says you cannot have them at home? Learn how to make a shadow box. Then, you too can make them at home and hang them on your wall. You can use a shadow box to display riveting items like:
- Medals and trophies
- Gift items and showpieces
- Keepsakes and collectibles
- Childhood belongings like the first baby dress
- Indoor plants or miniatures
- Shells and mementos
The list is endless, and so is your imagination. So, learn how to make a shadow box and turn that dull little corner of your room into a beautiful wall of art.
How to Make a Shadow Box?
You may come across many ways of making a shadow box. But if you are learning – how to make a shadow box for the first time, here is a simple method to get you started. Let us first see what all do we need for this project:
Materials
- Photo frame
- Construction adhesive
- Wood glue
- Chop saw
- Nails and screws
- Nail gun
- Paint of your choice
- Craft board according to the photo frame
- A piece of cloth of your choice that would serve as the background
- Decoupage glue or hot glue
- 2 hinges
- 1 Hook-and-eye latch
- 2 D-rings
- Measuring tape/ scale
- Pencil
- Drill machine
- Lights of your choice with cells (optional)
Front of the Box
Step 1. Keep the photo frame on a table face down. Do it carefully – so you do not break the glass.
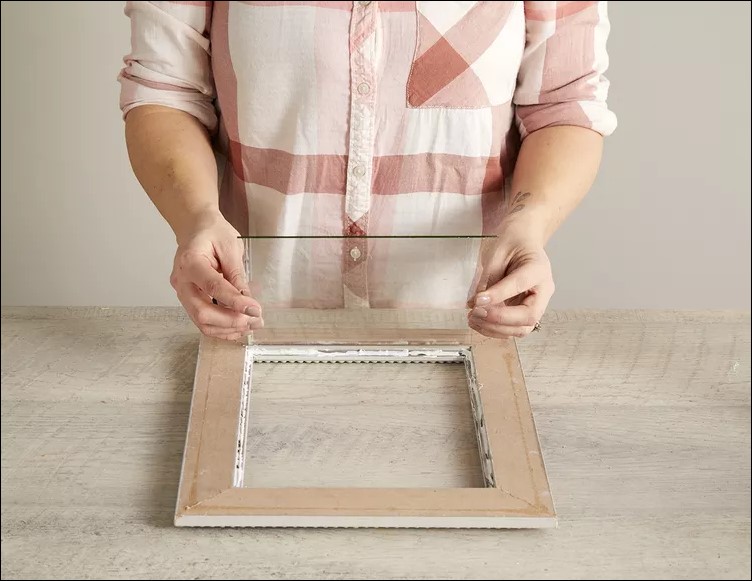
Step 2. Remove the back panel of your photo frame.
Step 3. Put construction adhesive on the glass panel of the photo frame and stick it in place. Secure it with enough glue so the glass does not move while making the shadow box.
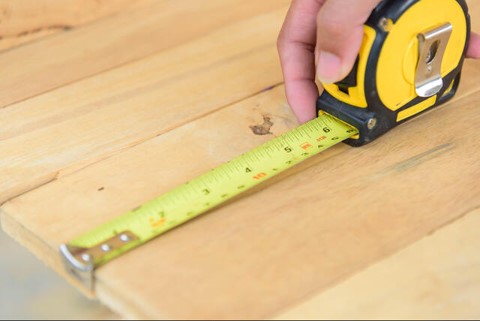
Step 4. Measure all four sides of the opening of the frame. (You have to be mindful of the measurements while making a shadow box.)
Step 5. Using this measurement, cut four pieces of wood. This wood will help in making the box-like structure.
Step 6. With the help of wood glue, join a shorter piece with a longer piece perpendicularly (at a 90-degree angle). Hammer some nails to secure the two pieces together. Or you can use a nail gun to tack the wood pieces in place. Keep joining the remaining wood pieces like this, till you get a complete frame of four sides.
Step 7. If you want to paint this frame in your choice of color, you can do so now. Using a paintbrush or cloth, paint it. Or use varnish to decorate the wooden frame you just created. Let it dry completely before going further.
Back of the Box
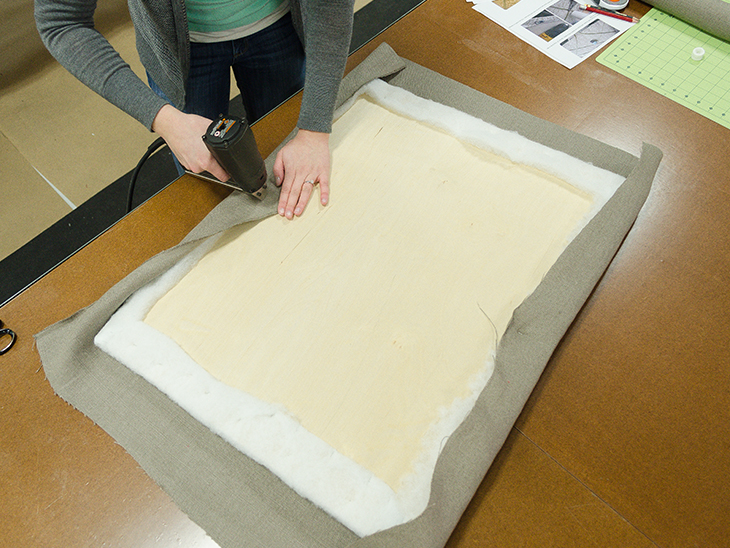
Step 8. The next step is to provide a background to the frame you made in steps 5, 6, and 7. For this, you need a craft board. This craft board should cover the back of the box. It should fit it precisely.
Step 9. Using hot glue, stick a cloth of your choice on the craft board.
Step 10. You may stick the excess fabric to the back of the craft board with the help of a hot-glue gun. Allow it to dry completely.
(While you wait for it to dry, you can quickly read steps 19 and 20 to know how to make a shadow box with lights.)
Step 11. After the glue dries and the fabric is stuck firmly, use a bead of glue on the sides of the frame (created above in steps 5, 6, and 7). Paste the craft board with the fabric side inwards.
Step 12. Using a nail gun, put some nails on the craft board and make it stick to the frame very securely. You now have an open box.
Final Hardware
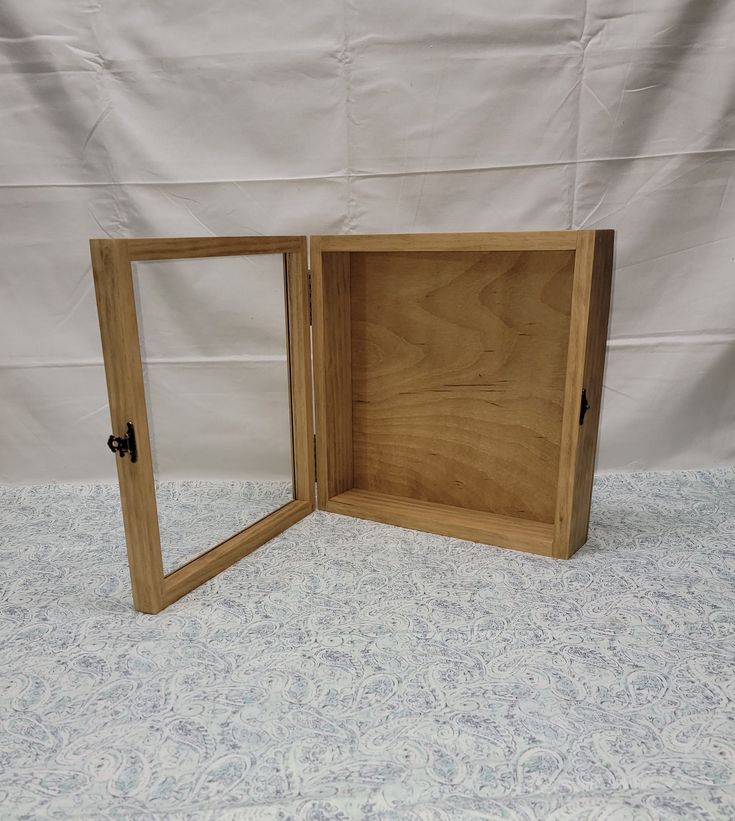
We are now in the final stages of making a shadow box. It is time to put the smaller hardware on the box. First, we will put the two hinges on the side of the open box and attach the other half to the front panel (glass side). This way, we can convert the box into a closed one.
Step 13. To do this, drill holes in the side of the open box. Place one side of the hinges here and secure them with screws. It is better to use a drill machine to make the holes.
Step 14. Measure where you have made the holes and put the hinges in the frame.
Step 15. Using the exact measurements, mark the places on the glass side with the help of a pencil.
Step 16. Put the other half of the hinges at the same distance on the glass panel of the shadow box. The hinges are to be put at the back of the front panel.
Check whether the shadow box front panel is opening and closing smoothly.
Step 17. Next, put the hook-and-eye fastener on the open side of the front panel and box.
Step 18. Put the D-rings on the top of the shadow box. They will help to hang it on the wall.
Adding Lights
Now the shadow box is complete. And you can put it up on the wall. But not so soon! How about we add some lights to it. Anything can be turned magical using lights. So let us learn how to add some magic to your shadow box using lights. The best type of light that can be used in a shadow box is LED. This is because LED lights don’t heat up like others. You can use Fairy LED lights as they are small and can be installed easily.
That said, whatever light you choose, do not leave the shadow box unattended with the lights on. Now, let’s see what we need to do to fit lights in a shadow box:
Step 19. To do this you can go back to step 8 and cut a small piece in the side of the craft board before pasting it. This will help you pass the wire of the lights from the inside of the box to the outside.
Step 20. If you choose fairy lights, wrap the wire around the wooden frame and attach it with glue or transparent tape. Before pasting the background in step 11, take the wire and battery compartment out through the small cut area, and paste it behind the box using tape or glue.
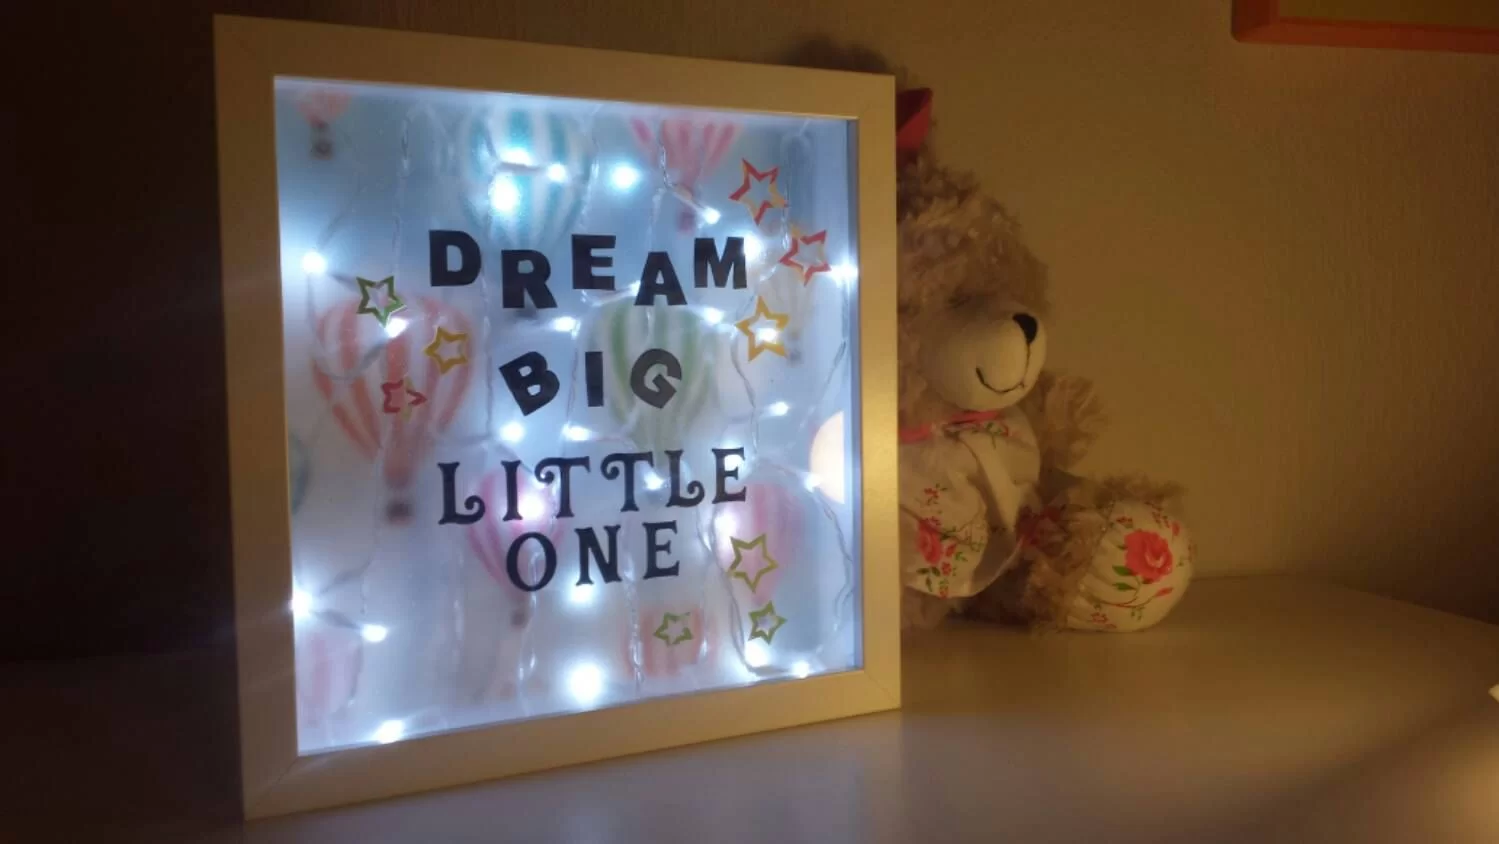
Tadaa! Your shadow box is ready. Wasn’t it easy and fun? Now, go ahead and light it up and see how beautiful it looks. You can use this shadow box to do three things at the same time –
- To display objects, keepsakes, and collectibles that you would love to showcase.
- To conserve your beloved memorabilia from damage and wear-n-tear.
- Use them as conversation starters when guests visit or when you spend quality time with your family.
Final Thoughts
You might come across different kinds of shadow boxes. As said earlier, there are many ways to make a shadow box. If this is the first time you are looking up how to make a shadow box, this is the easiest method. You can try cutting card stock in different shapes. And put them in layers to make a final 3-D picture. Or you can put your favorite trip memorabilia hanging from the roof of the box. The possibilities are endless. And so will your attempts once you see your creation come to life.