Needless to say, we are dependent on online platforms more nowadays. Especially after the pandemic, we are relying on Google meets and zoom, or Microsoft teams more. Half of the important seminars and meetings take place online rather than in conference rooms.
There are times when we need to show a presentation in front of every and we get confused often because we don’t know the process. If you are considering yourself as some technical noob, then don’t worry you are not. Here we will be showing you the whole process so that you can present your files successfully.
So without any further delay let’s just kick start with our topic -How to Share Screen on Teams .
How to Share Screen on Teams?
Steps To Share Screen On Teams
- the First step is to download the Microsoft app. This step is crucial.
- Next step is to sign in and make an account if you haven’t already.
- Now join a meeting that is said to be conducted.
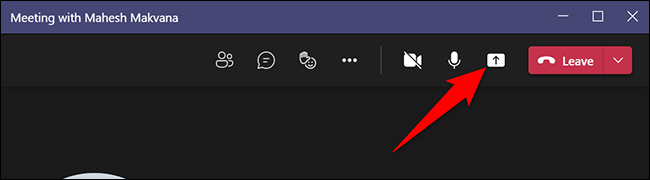
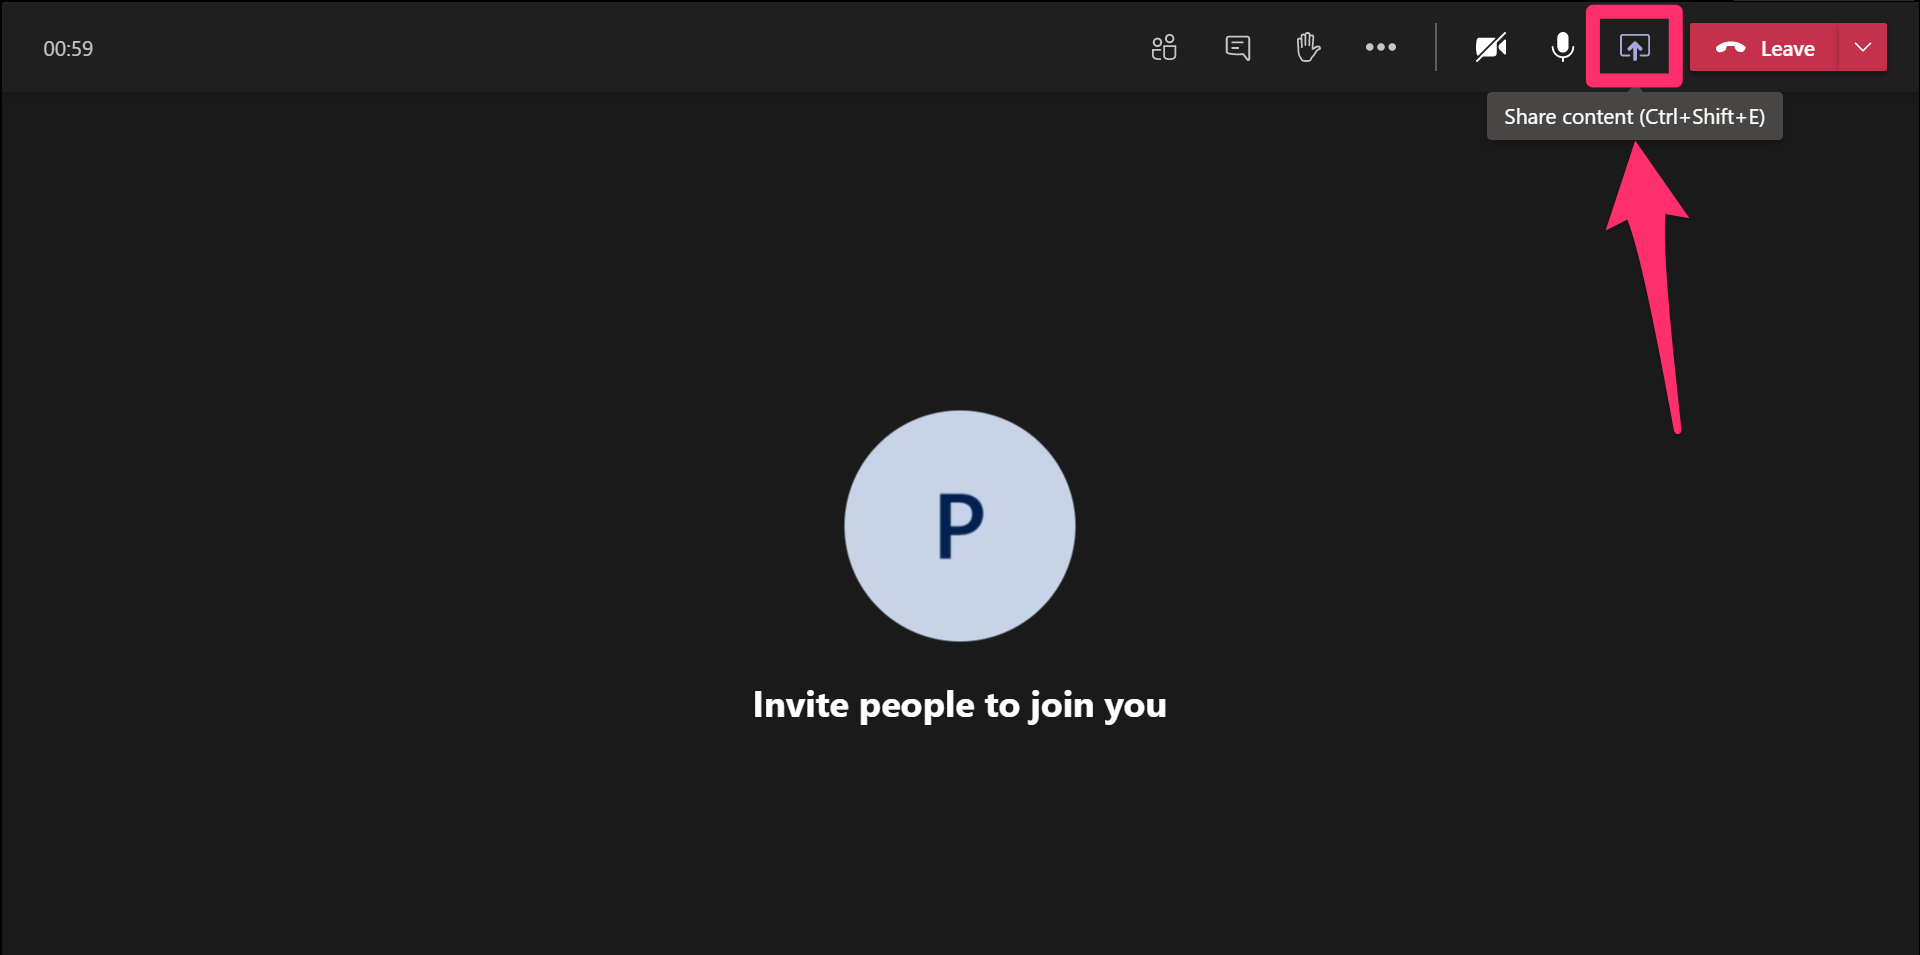
- Now you’ll see a ‘share’ button in the upper right corner. Just click on that button.
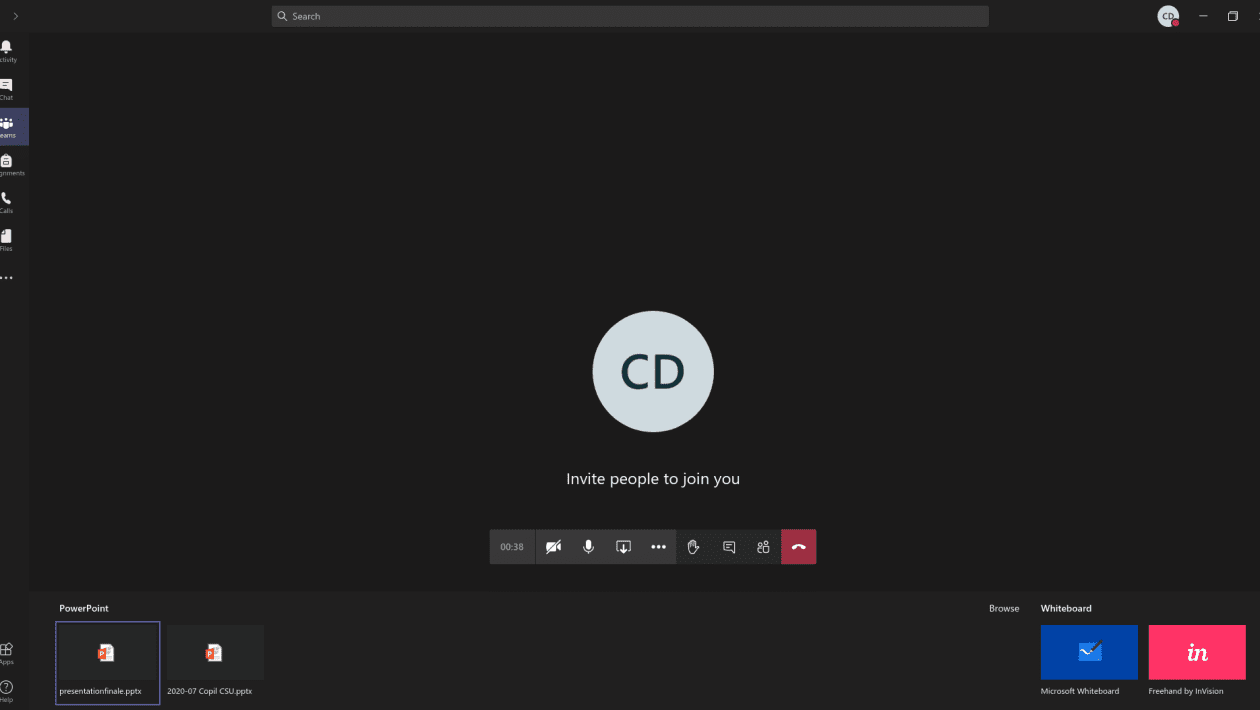
- A menu will appear in the lower portion of the screen.
- once you click the menu, you will notice a lot of buttons below.
- Click on the one that you think fits the best for you.
- There are several options. Let me explain the options so that it’s easier for you to understand them better. There is a ‘Desktop’ tab, that’ll show the computer’s desktop.
- There is a ‘window’ tab. It will only focus on one particular window. You can click that if you want to present a particular window in front of everyone.
- Next comes the ‘PowerPoint’ tab. This tab will help you portray a PowerPoint presentation in front of everyone. You can show you’re the presentation that you created specifically for the meeting or conference.
- The next button is the ‘browse button’. This one enables you to show a saved file from your computer. You can show a saved file by using this button.
- There is also an option that says ‘Microsoft whiteboard’. This option is quite useful for school and college classes or any kind of seminar even. This option is quite beneficial indeed.
- once you tap on one of the tabs, the screen will start sharing automatically and you don’t need to do much more or less.
- The time you are sharing, you will notice a red border around the presentation. The one you will be sharing.
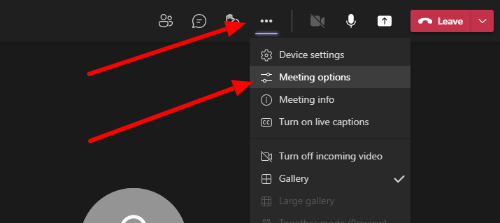
- Again, at the top of your screen, you will notice a ribbon showing a few different options.
- you can also allow some different members to lead the meeting by showing different presentations. Yes, you heard it, others can also do a show or present their work without even being the admin.
- you just need to click on the ‘give control’ button.
- If you want to hide your screen then you need to click on the ‘stop sharing tool’ to end your meeting. You can also stop sharing the screen like this and end your presentation there.
How to share multiple screens?
Sometimes you may need to share multiple screens on Microsoft and you can’t back off suddenly. So just don’t worry and follow this article to get over it without any worries.
Sharing multiple screens may sound tough or it may sound difficult but trust me it’s quite easy. Make sure you have the Microsoft app and you’re already logged in.
If you want to share multiple screens, then you need to use one thing and that is OBS. Without OBS you cannot share multiple screens. You can even switch between different screens and also operate the screen side by side.
- Open OBS and then you just need to add a new ‘scene’.
- Then you’ll notice a plus button there. Click that button under the ‘sources.’
- Now select ‘Display capture’.
- After that, you need to select the second screen.
- Now you need to go to the ‘sources’ column again. ‘Right-click’ each screen from there.
- Now select ‘transform’ and then select ‘flip horizontal’.
- The next step is to download OBS virtual Cam plugin.
- After that, you need to restart OBS.
- After this process, next, you need to go to the ‘tools’ option.
- Next, go to the virtual cam option to start.
- Click the start button.
- Now you need to open the Microsoft teams app. This is where your meetings will take place.
- Now click to start a new meeting.
- Next, you need to click the ‘cogwheel’ option which is right next to the camera switch option.
- The next step is to open the ‘camera dropdown’ option.
- Here select the OBS camera.
- Now start your meeting.
- If you want to switch between screens, then just simply proceed to OBS and click the ‘eye icon’ that is present just next to your screen to just ‘hide’ it.
- Now you need to click that ‘eye icon just next to the screen that you want to show.
That’s it, this is the method that you have to apply if you want to share multiple screens. Personally, the Microsoft team doesn’t have this feature in-built in them. The reason you need to use OBS is if you want to share multiple screens.
Frequently Asked Questions on How to Share Screen on Teams
1. Why doesn’t the team share my screen?
Sometimes the feature doesn’t work due to low data connectivity. You need high data speed for the app or the program to run properly. If your phone or your PC doesn’t get proper connectivity, then it won’t work properly. Check your network thoroughly.
2. How to share screen on mobile?
It’s quite easy. You can work with the Microsoft team fluently even on your mobile phone. Here’s how you can work with the function –
When you are in the call, just tap three dots at the bottom of the screen and then tap ‘share’. Next just tap on the ‘share screen’ option. Next just click on the ‘broadcast’ option.
Till now viewers can only see the teams app until and unless you switch to the app you want to share or show them.
After you are done, just return to the team’s app and stop your broadcast. That will automatically stop sharing your screen.
3. Where can I find the ‘sharing toolbar’?
You can easily find the ‘sharing toolbar’ just next to the left button.
4. Is it mandatory to use a mobile or a desktop?
You can use whatever you have as the app works perfectly even on a mobile phone. So there is no hard and fast rule. But PC is much more convenient for you to work with as mobile can sometimes lag. But if you don’t have that issue, then it’s completely fine.
5. How to properly share a team meeting?
There is a calendar section, just tap on that and then tap to click meet now. After that, a link will be generated. Click to get a link that you can share via any source and even email without any further hassles.
Final Thoughts
Now it’s time to quickly wrap things up about How to Share Screen on Teams. Sometimes technology can give you stress if you don’t know how to use it properly. But these are simple once you put them to use. We tried to explain every step clearly so that it’s easier for you to catch.
I hope this article was relevant to your search. Drop a comment if you have any queries. Till the next time take care.